Introduction
Whether you’re an email marketer who wants your campaigns to reliably land in your subscribers’ inboxes, or an email recipient who wants to ensure your favorite emails don’t get junked, you need to understand how to whitelist email addresses.
These days, with email clients like Gmail creating tabs to sort your inbox automatically, whitelisting your favorite email addresses becomes more important than ever for anyone using email — which is pretty much everyone.
Have you ever waited on an email, gotten frustrated when you couldn’t find it, just to realize that it wound up sorted into the wrong tab? While email clients rework their algorithms frequently and use artificial intelligence to constantly improve the function of their tabs, they don’t work perfectly. That’s where whitelisting comes in.
For marketers, getting subscribers to whitelist the email address you use for email marketing can mean the difference between your hard work languishing away in an unseen corner of their inbox or yielding results.
Whichever camp you fall into—whether email marketer or email recipient—knowing how to whitelist your favorite email addresses is a handy inbox hack that will make your inbox more efficient.
And who doesn’t need that?
Chapter 1
What is an email whitelist?
To whitelist an email address just means you add them to your approved senders list. This tells your email client that you know this sender and trust them, which will keep emails from this contact at the top of your inbox and out of the junk folder.
Understanding email whitelisting best practices can be useful to both email marketers and email subscribers since it will boost the efficiency of anyone’s inbox.
On the other hand, email blacklisting is really only relevant to email marketers. Your server or domain can get blacklisted when your deliverability and sender score drops so much that internet service providers think you’re spam. If you wind up on an email blacklist, your email will get flagged by spam filters and your message won’t get through to your subscribers at all.
Why should you and your subscribers whitelist email senders?
Don’t be afraid to ask your subscribers to whitelist your email address. Plenty of people don’t even realize they have this ability and making a friendly request—and even including a link to these instructions—can position your brand as helpful.
Here are a few reasons you should make a straightforward suggestion for your subscribers to whitelist your email address into your welcome email:
- Whitelisting leads to improved deliverability.
- Your subscribers won’t miss an email. After all, they subscribed to your email marketing because they know you deliver value straight to their inbox and they don’t want to miss out.
- Your emails will land in the inbox every time. More eyes on your email mean better results for your email marketing campaigns.
Check out this example from Scott’s Cheap Flights. This welcome email not only asks subscribers to whitelist Scott’s email address—you’ll see they don’t actually use the term whitelist, but use more universal language—but this email also clearly defines which email address will be added to the subscriber’s contacts list and even includes a link to instructions on how to do it.
Whitelisting is a simple way to make sure you’re doing the most to get your emails in front of your dedicated subscribers. After all the work you put into crafting effective email campaigns, why wouldn’t you take this last step to improve your email marketing metrics?
How do you whitelist?
Whitelisting is a quick, one-time-only task to ensure the sender of an email gets added to the recipient’s address book or safe senders list.
Usually, all you need to do is open an email message and verify the sender can be trusted:

Here are simple instructions on how to ensure that future emails get delivered straight to the inbox, in some of the most popular email clients:
- Apple Mail (OS X and iOS devices)
- Outlook 20XX
- Outlook.com
- Yahoo! Mail
- Gmail (Webmail and mobile)
- Android (Default client)
- Windows Live Desktop>
- AOL Mail
Apple Mail Whitelisting (OS X and iOS devices)
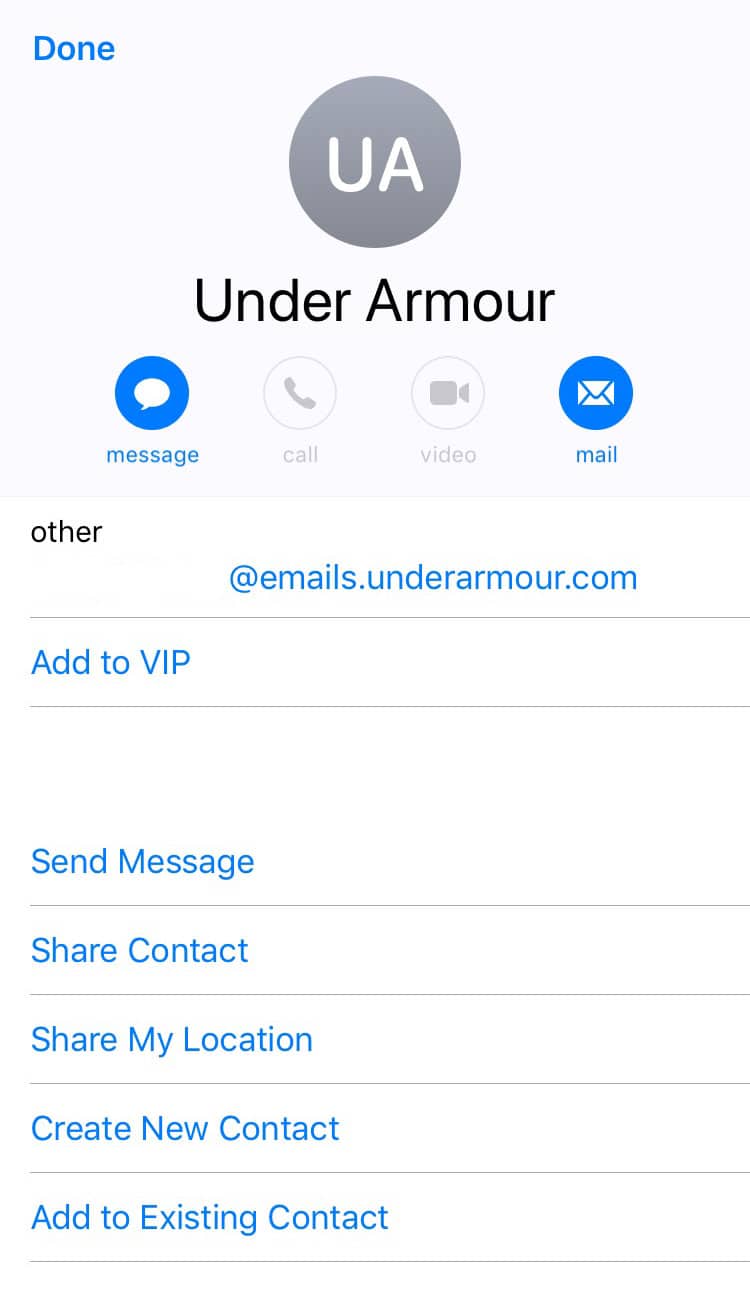
Both Apple Mail on OSX and Mail on iOS devices have a similar process for adding senders to Contacts. By selecting the From, or Reply-to on an email message, you can choose to “Add to Contacts” or “Add to VIPs.”

The advantage of “Add to VIPs” is that future emails from this sender will be added to a special VIP mailbox in iOS Mail.
Outlook 20XX Whitelisting
When opening an email from a sender, an alert at the header of the message, “Click here to download pictures…” should display. Click this and select, “Add Sender to Safe Senders list:”

Outlook.com Whitelisting
After opening an email message, an alert message should display with, “Parts of this message have been blocked for your safety.” Beneath this, click the link with, “I trust [email protected]. Always show content:”

Yahoo! Mail Whitelisting
When opening an email message, a “+” symbol should display next to From: and the sender’s name. Select this and an “Add to contacts” pop-up should appear. Select “Save:”

Gmail Whitelisting (Webmail and mobile)
Getting all future emails from a sender to appear in the “Primary” tab (instead of “Promotions”, or elsewhere) is a quick, two-step process.
First of all, drag-and-drop the email message from beneath the tab it’s currently filed under, to the “Primary” tab:

Once done, a message alert will appear with, “This conversation has been moved to Primary. Do this for all future messages from [email protected]?” Select “Yes:”

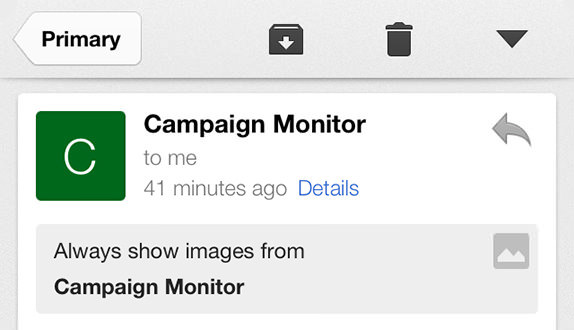
Gmail on mobile devices doesn’t provide a way to prioritize messages. However, touching “Show images” then “Always show images from Sender” will ensure that images always display in the inbox:

Android Whitelisting (Default client)
On Android devices, open the email message and touch the picture of the sender that displays before the message. Tap “Add to Contacts.”
Windows Live Desktop Whitelisting
After opening an email message in Windows Live Desktop, an alert in the preview pane with, “Some images in this message are not shown.” will display. Select the link, “Add to Safe Senders list.”

AOL Mail Whitelisting
In the preview pane for an opened email message in AOL Mail, select the sender’s From name under the email’s subject line and select “Add Contact” from the drop-down menu:

Knowing how to whitelist your favorite email addresses is a handy inbox hack that will make email more efficient.
Chapter 2
Link to these instructions
Many email senders link to whitelist instructions from their email campaigns—and specifically their welcome emails—just like Scott’s Cheap Flights. This ensures your campaigns get delivered straight to the inbox for as many recipients as possible.
A common approach is to add a short message to your email content, like, “To keep receiving emails from us, please add us to your address book.” It’s direct but not pushy. Remember, your subscribers want to hear from you—they did have to double opt-in to receive your emails, after all—so they’ll appreciate the suggestion.
Here’s code you can use to link to this guide from your email newsletter:
<p>To keep receiving emails from us, <a href="//www.campaignmonitor.com/resources/guides/whitelisting/"> please add us to your address book</a>.</p>
Chapter 3
Wrap up
Hopefully we’ve addressed any hesitation you might have when it comes to whitelisting your favorite contacts or asking your subscribers to do the same. Truthfully, there’s no real reason not to whitelist.
Even if your deliverability rates remain stellar, spam filters can still grab your email before it reaches your subscriber’s inbox. Sometimes, things just happen. And when the only constant regarding algorithms is how frequently they change, you never know when you’ll suddenly see a shift in your deliverability and wind up missing out on opportunities to connect with your dedicated fans.
Sending your email marketing from a verified sender means you get to transcend all those worries. Regardless of any unexpected updates from Gmail or Apple mail—or any other clients that might emerge in the future—you can rest easy knowing your email marketing will always land in the right place.
When the only constant regarding algorithms is how frequently they change, whitelisting ensures you never miss a connection.

Press CMD+D to Bookmark this page

Instant branded emails
With our template builder, you can make branded emails and then send them. It’s that easy.
Learn More
Case Study
Discover how this media brand grew their email list from 30k to 100k in less than a year.
Learn how
The email platform for agencies
We started out helping agencies with email, so let us help you.


