7 minute read time
How to Customize an Email Template in 7 Simple Steps
Article first published May 2016, updated May 2019
In the past, if you wanted to create a beautiful email you needed to know HTML and CSS. But the days of having to code to create an amazing email are behind us, thanks to modern email design tools and templates.
With Campaign Monitor’s email builder the possibilities are endless. You can build a custom email that starts with one of our email templates and uses our intuitive drag-and-drop email tools.
In this post, we’ll walk you through the simple steps that will help you design and build a custom email from start to finish.
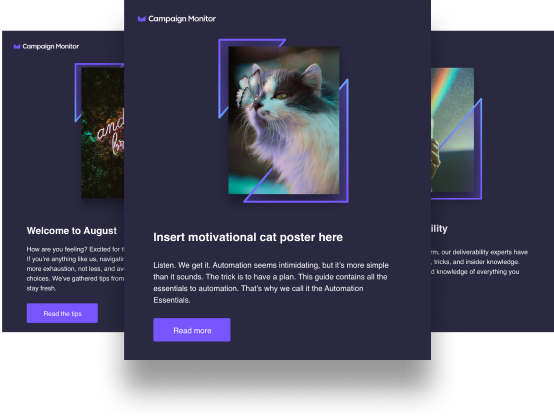
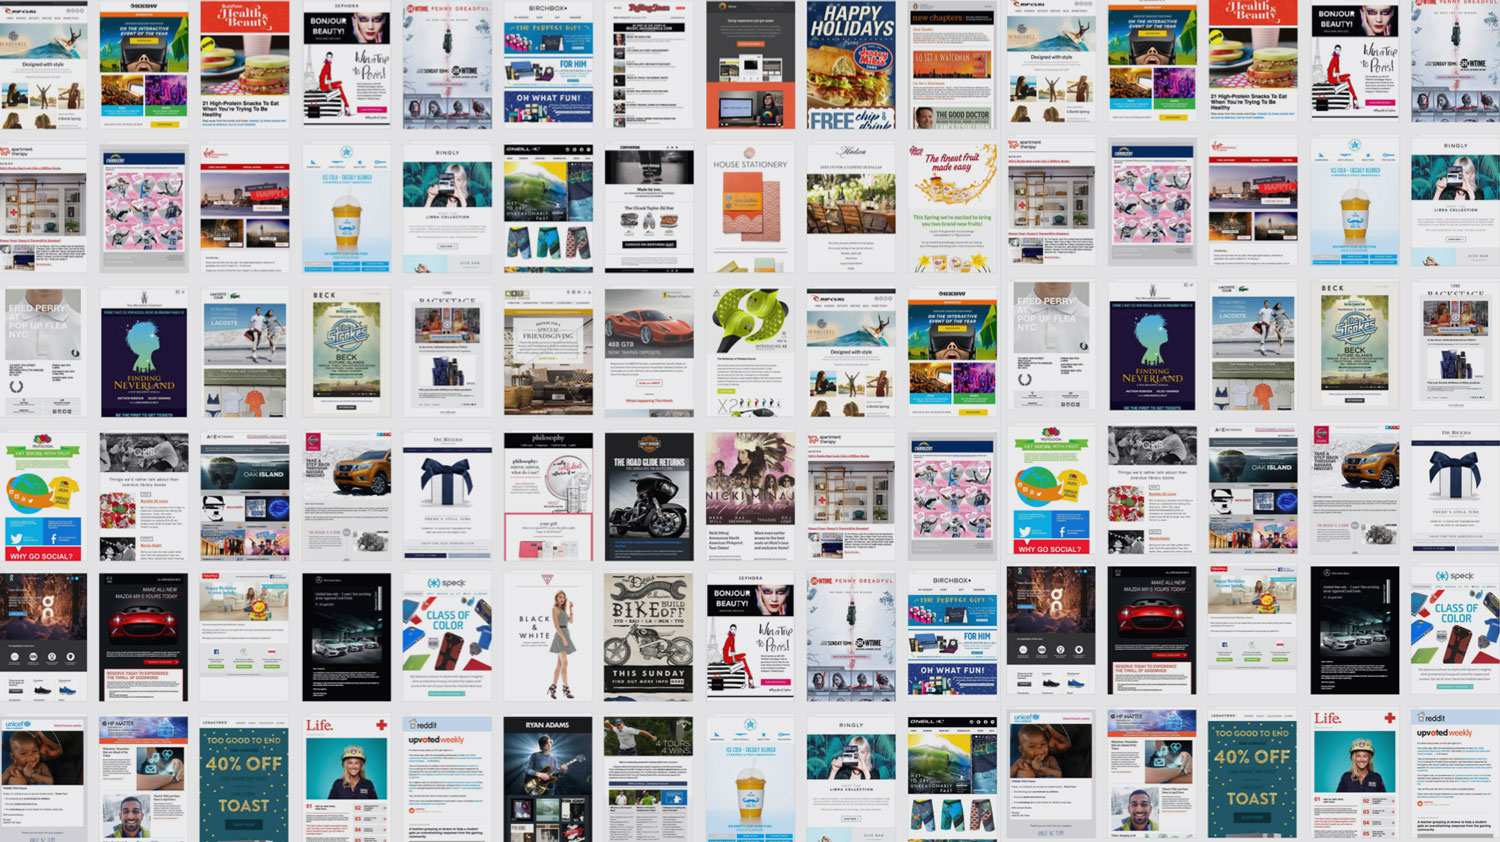
Step 1: Choose a template to get started
The first step in customizing your email is to select a template from the extensive Campaign Monitor template library. Here, you’ll find a wide variety of templates to choose from.
The template you choose will be partially based on the type of message you’ll be sending, such as a marketing offer, transactional email, newsletter, announcement, or event invite. Different objectives call for different formats and layouts, so consider which template will complement the message and objective of your email campaign.
For example, let’s say you’re sending out an email marketing campaign to announce a new collection of items in-store. For this post, we’ll pretend we are an email marketer at fashion retailer, Topshop.
Choose a template right from within the email builder:

Step 2: Add a new hero image
Once you’ve selected the template you want to use, click ‘Replace’ to swap out the existing image and insert an image of your own. You can use a big, bold hero image that goes full-width across the screen.

If you don’t have high-quality images of your own, browse some of the free image sites that have a large selection to choose from. Be sure to choose an image that is cohesive with your palette and message theme.
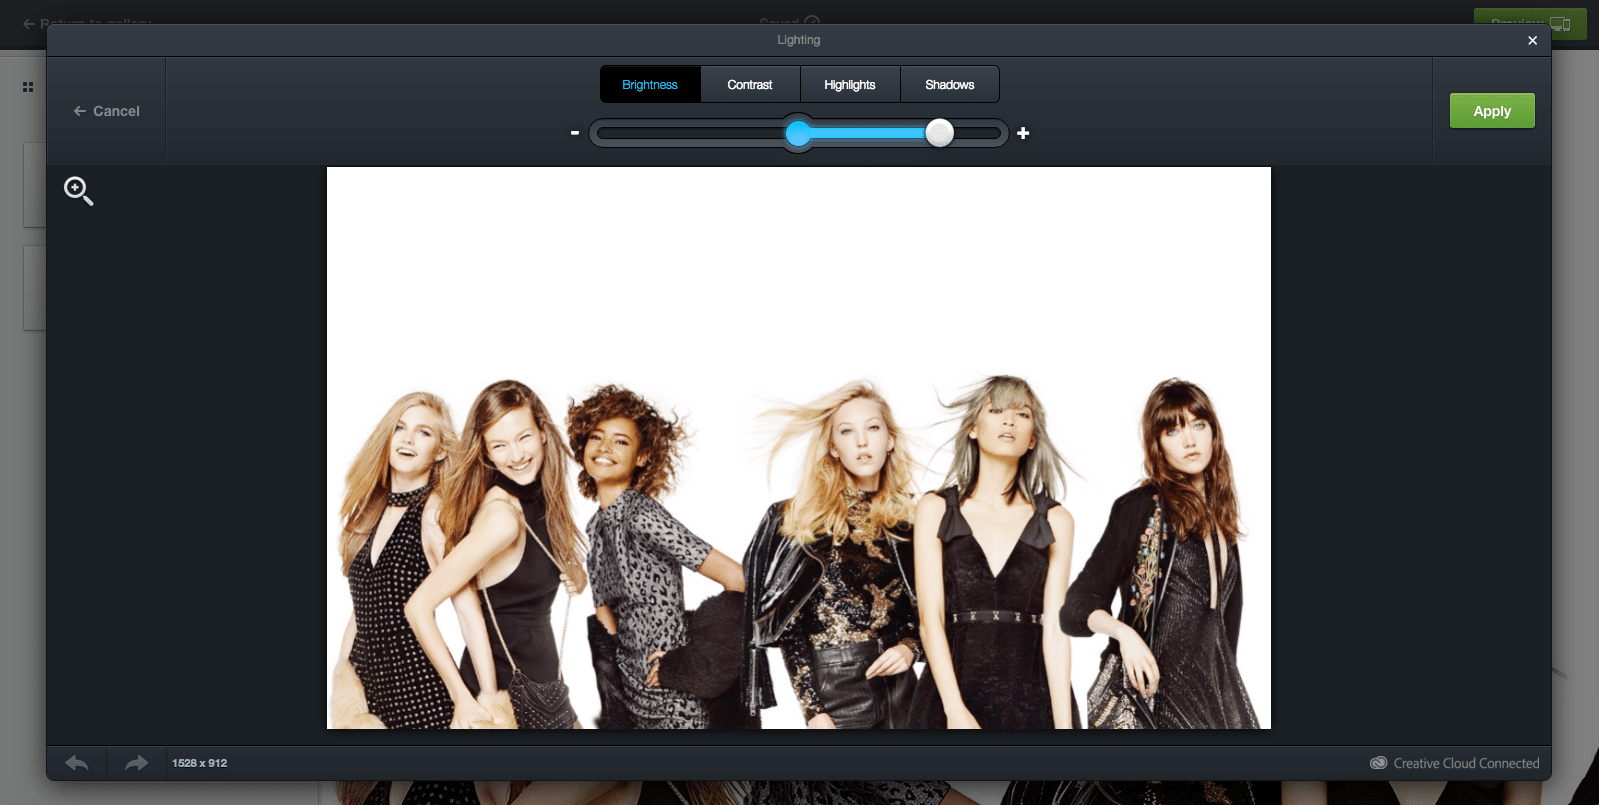
Step 3: Edit your image
Once you’ve inserted your bold hero image, you can edit it right within the builder.
Editing capabilities include everything from simply enhancing the image, to adding effects, rotating orientation, resizing, cropping, color correcting, lighting, sharpness, and removing blemishes.
In the example below, you can see how clicking on the lighting option expands into more specific features such as brightness, contrast, highlights, and shadows.
Once you’ve made your edits, click ‘Save’ and your new image will be updated in the template.
Step 4: Add alt text and links
Now that your image is set, you can add alt text as this is the text that will display when a subscriber has images off within his or her email inbox.
To add alt text, simply click on the image and add the alt text in the appropriate box. You can also add a link so when your image is clicked, it takes the subscriber to your website or product page.

From here, you can also change the top, bottom, and horizontal spacing, the alignment of the alt text, its size, and the colors and font of your text. In the example above, clicking on the Topshop logo at the top of the email brings up the toolbar with these features on the left side of the screen.
Step 5: Tweak your template
If you’d like to rearrange or add sections to your template, doing so is just a matter of a few clicks.
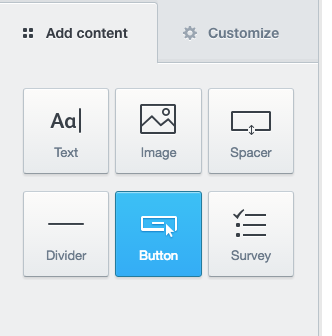
To add content sections such as text, images, spacers, dividers, buttons, or surveys, just select the appropriate button from the left-hand toolbar and drag it to the section of your email template where you want to drop it in.
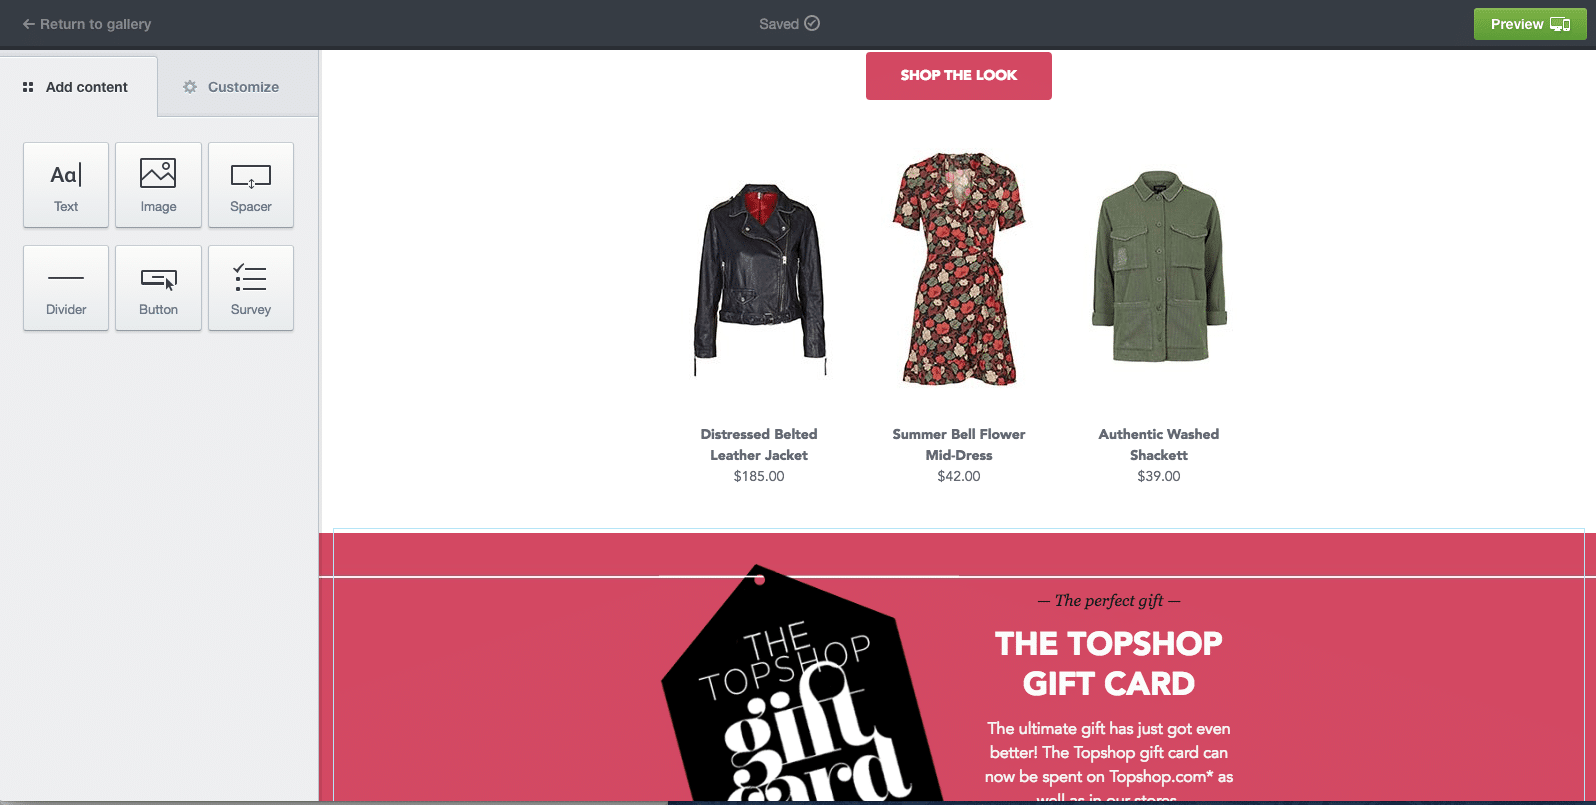
Or, if you want to rearrange sections (as seen in the example below) highlight the portion you want to move with your mouse and move it to the new spot. This is helpful if you don’t want to switch to a different template, but you’d like to see a different ordering of the sections.

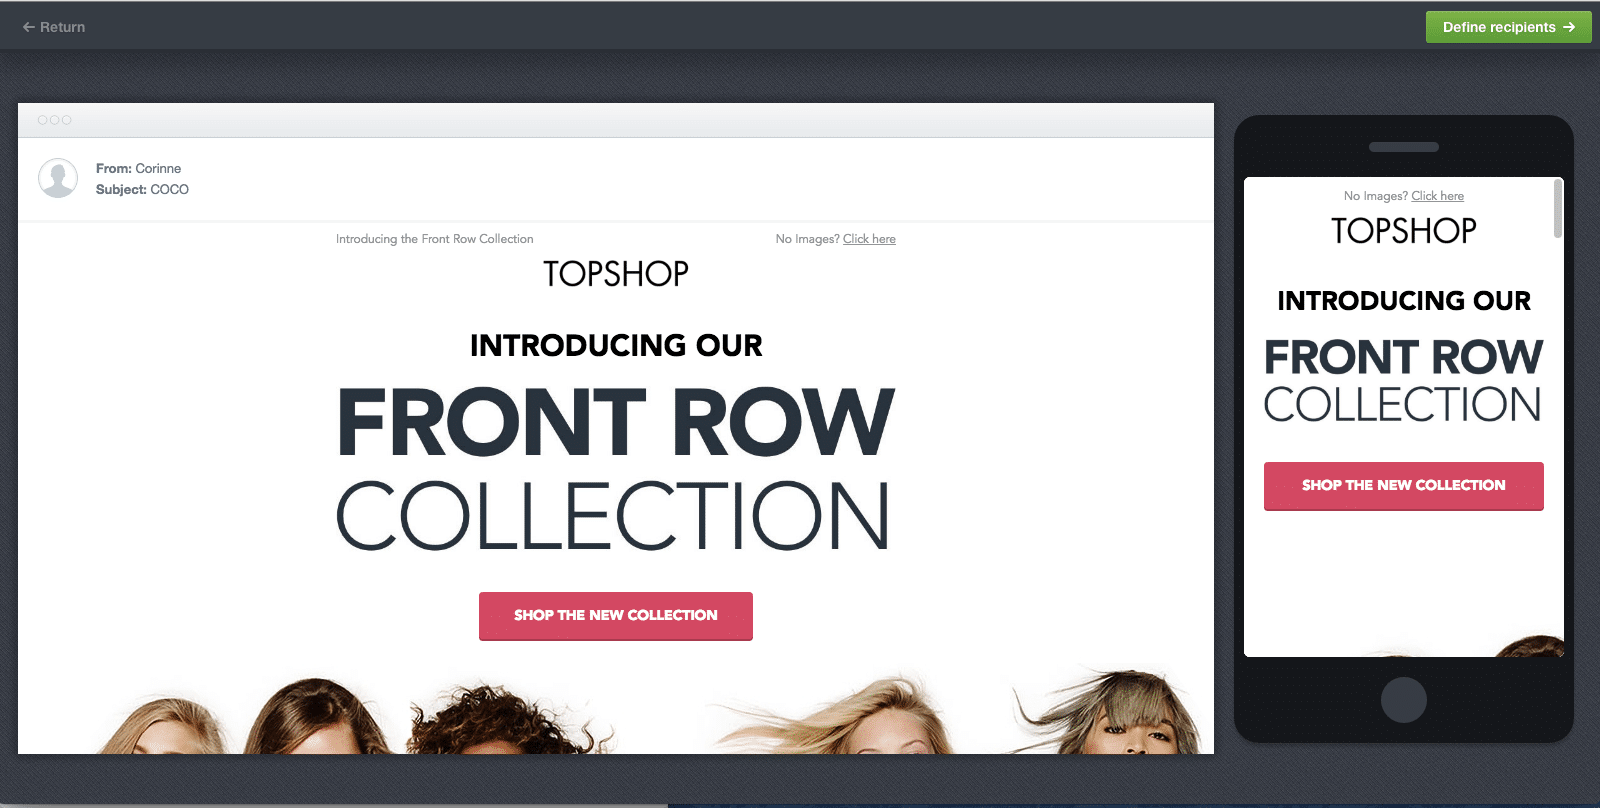
Step 6: Add a CTA button and customize the copy
When it’s time to create a custom call to action button that will drive customers to your website, all you need to do is to use the ‘Button’ option.
We favor buttons instead of just text links in email campaigns because data shows that button-based CTAs drive 28% more clicks than text links.
You’ll build your conversion-driving CTA button by customizing everything from the copy, button color, text, size, style, corner type, and alignment.

The best part: No HTML/CSS skills needed. Hooray!
Step 7: Preview on mobile
Before sending out your email campaign, be sure to preview it on mobile to be sure everything is displaying correctly. Right within the builder, you’ll see the mobile preview on the right-hand side of the screen. Scroll down to see how your template looks in this format from top to bottom.
Why is this step important? Because research shows that about 53% of all emails are opened on mobile devices, and it’s the most popular environment for a subscriber’s first interaction with an email.
One more thing before you send
When it comes to asking yourself how to create a custom email, the seven steps we covered are essential, but there are a few other vital points that you should consider before hitting the “send” button.
Check out our preflight checklist
If you don’t have an email campaign sign-off list, then you probably should get one. Alternatively, better yet, check out our preflight checklist.In order to reduce email errors, the team here at Campaign Monitor created a checklist that you can use to ensure that your emails are ready to send before actually hitting the “send” button. Everything you need for your email campaign sign-off is included in this list, so feel free to save, print, and reuse. And don’t be afraid to add additional steps as well. Source:Campaign MonitorAnother thing you’ll want to consider is who may need to check off on specific aspects of the email or campaign. By taking this preflight checklist and splitting it amongst the team in charge of the new campaign, each step of the creation process will be attended to and signed off on as it’s completed.
Test your email for different email clients
Testing should be a part of your email creation process every time you create a new campaign. This is the only way to see how your emails will perform and how they’ll appear in varying email clients, such as:
- Gmail
- Outlook
- Apple Mail
- Yahoo! Mail
Campaign Monitor clients have a variety of different tests that they can perform, including:
- The design and spam test
- Sending a sample/test email
- Standard previews
- Personalized previews
- Sharing a preview with another person
These tests are vital to your email campaign’s success because they can point you in so many different directions. From design flaws to coding mistakes, tests are the only way to see what works before sending out your campaigns to the masses.
Do a final proofread
Even if your team has gone through your email multiple times already, doing one final proofread is critical, especially if it’s done by someone who hasn’t played a significant role in the writing and creation of the email.Having that new set of eyes to look over the text and design can help your team catch anything from grammar and spelling mistakes to design flaws and missing or broken links, all of which can have a significant impact on the overall success of your email campaign. You’ve taken the time to get this far, don’t let the little things slip by and cause your subscribers to doubt your credibility as a brand.
Wrap up
See how painless it is to customize an email template and create a stunning email? You didn’t need a lick of coding skills. Using customizable templates as your foundation, you can design a unique, well-branded email campaign in minutes.
Watch the video and see how easy it is to easily create a beautiful email in just a few steps.
You’ve got everything you need to get started, so now go see how easy it is to create a beautiful custom email template in just a few steps.